How Window Installation Works: A Step-by-Step Guide
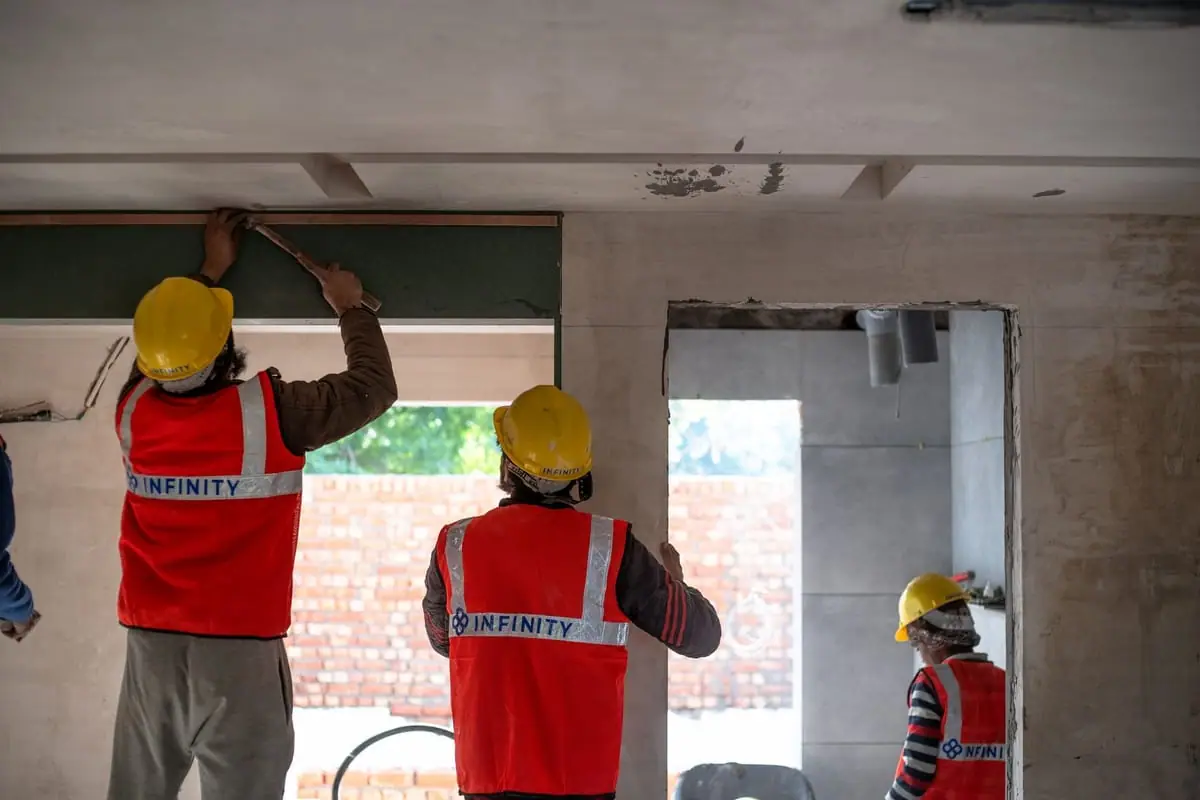
A new window is only as good as its installation. You can buy the most efficient, best-sealed unit on the market, but if it’s set out of level, foamed too tightly, or flashed incorrectly, it will leak air, water, and money. Here’s exactly how a professional window installation works, step by step, so you know what a quality job looks like before a crew ever arrives.
Step 1: Precise field measurement
Everything starts with an accurate measurement. An installer measures the width and height of each opening in three places (openings are rarely perfectly square), checks the depth of the jamb, and notes the sill angle and any obstructions. These measurements determine whether you’ll use insert or full-frame installation and what size to order.
Getting this wrong is the most common cause of gaps, drafts, and rework — which is why we measure every opening ourselves rather than relying on old numbers. If you want to understand the process, our guide on how to measure windows walks through it.
Step 2: Choosing insert vs. full-frame
There are two fundamental installation methods:
- Insert (pocket) installation fits a new window inside the existing frame. It’s faster, less invasive, and preserves your interior and exterior trim — ideal when the existing frame is solid and square.
- Full-frame installation removes the window right down to the rough opening (the framed hole in the wall). It’s the right call when frames are rotted or water-damaged, or when you’re changing the size or style of the window.
Learn more about both approaches on our window installation page.
Step 3: Removing the old window
The crew protects your floors and furnishings, then carefully removes the old sashes and stops. On a full-frame job, they take out the old frame too, exposing the rough opening. Homes built before 1978 may contain lead paint, so this step should follow EPA Lead-Safe (RRP) practices — containment, careful removal, and cleanup — to keep your family safe.
Step 4: Preparing the opening
With the old window out, the installer inspects the rough opening for rot, mold, or water damage and repairs anything they find. This is also when a sill pan is installed on full-frame jobs — a waterproof tray at the base of the opening that channels any water that gets behind the window back to the outside. Skipping this step is how walls rot from the inside out.
Step 5: Setting the window level, plumb, and square
The new window is set into the opening and shimmed until it’s level (horizontal), plumb (vertical), and square (corners at true right angles). This is the difference between a sash that glides for decades and one that binds within a year. The installer checks operation before fastening anything permanently.
Step 6: Insulating and flashing
Two critical, invisible steps happen now:
- Insulating the gap between the window frame and the rough opening with low-expansion foam. Standard foam expands too aggressively and can bow the frame, causing the window to bind — low-expansion foam fills the gap without distortion.
- Flashing integrates the window with your home’s water-resistive barrier (house wrap) so water sheds away from the wall. On new-construction and full-frame jobs, flashing tape is lapped in the correct shingle-style sequence — bottom first, then sides, then top — so gravity always carries water outward. See our new construction window installation page for how this works on open framing.
Step 7: Sealing and trim
The installer applies exterior-grade caulk at the appropriate joints (never sealing the weep holes that let the window drain) and finishes the interior with trim and a bead of paintable sealant. On insert jobs, most existing trim is reused; on full-frame jobs, new trim is installed and finished.
Step 8: Final inspection and walkthrough
Finally, the crew tests every window — opening, closing, locking, and tilting — cleans the glass, hauls away the old units and debris, and walks you through operation and care. A good installer leaves you with warranty paperwork and a clean home.
Why professional installation protects your warranty
Most manufacturer warranties are only valid when windows are installed to specification — typically following AAMA (American Architectural Manufacturers Association) guidelines. A DIY or cut-corner install can void that coverage. Professional window installation protects both your investment and your warranty.
Ready to see the process in your home? Request a free estimate and we’ll measure, recommend, and give you a written price — no obligation.
Frequently Asked Questions
How long does it take to install one window?
Most standard windows take 30 to 60 minutes to install once the crew is set up. The bigger part of the timeline is manufacturing your custom windows, which usually takes a few weeks.
Do installers remove the old windows?
Yes. A full installation includes removing the old sashes and, for full-frame jobs, the old frame — then hauling everything away and leaving the site clean.
What is the difference between insert and full-frame installation?
Insert (pocket) installation places a new window inside the existing, sound frame. Full-frame installation removes everything down to the rough opening and is used when frames are rotted or the opening size is changing.